Do You Need a Plumber in Tampa & St. Petersburg Area?
Call us Now to Get $35 OFF.
Call This Tuesday to Get $35 OFF
Do You Need a Plumber in Tampa & St. Petersburg Area?
Call us Now to Get $35 OFF.
Call This Tuesday to Get $35 OFF


September 18, 2024

September 12, 2024

September 04, 2024
January 01
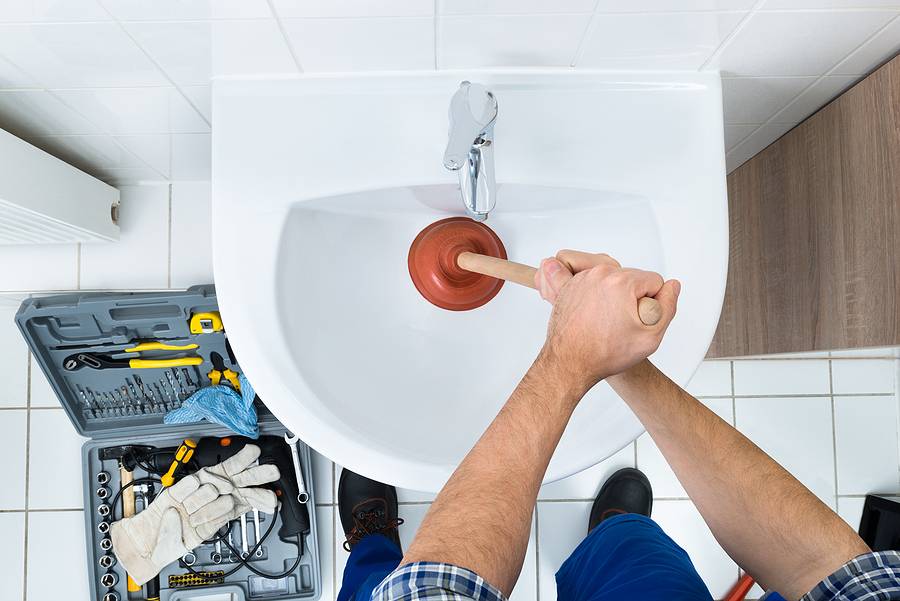
Clogged toilets or sinks can be inconvenient, but you can address them independently with the right tools and know-how. A key tool that comes in handy in these instances is the plunger. Its simple yet efficient device helps clear minor blockages to restore the smooth flow of water and restore normal operations of both toilets and sinks. Mr. Rooter Plumbing walks through how to use a plunger effectively and when you should contact a plumbing service.
Before beginning, you must choose an appropriate plunger for your task. There are two primary types: cup plungers and flange plungers. A cup plunger typically features a flat rubber cup at its tip - ideal for sinks and flat surfaces - while flange plungers feature an added rubber flap on their end that makes them suitable for toilets.
To reduce any unnecessary mess when plunging, take precautionary steps before beginning. Place some old towels or newspapers around your sinking spot so they can collect any splashes that occur; this will make cleanup faster while protecting floors from potential water damage.
For an effective plunger session, creating an airtight seal between its rubber cup and drain opening or hole and your plunger is imperative. In general, using cup plungers works better on flat surfaces while dealing with sink clogs than toilet clogs unless using flange plungers, with their rubber flap being placed against toilet drain holes to form the seal.
Once the seal is secure, it's time to apply pressure. Gently push down on the plunger handle to compress air in your cup or flap and pull upward forcefully to create suction and dislodge any blockages that have developed within. Repeat this cycle multiple times until the clogs have been dislodged successfully.
Plunging might not produce immediate results when dealing with more stubborn blockages; therefore, your efforts must remain persistent and patient over time. Take breaks as needed but don't give up too soon - sometimes, multiple rounds of plunging are required before clearing a blockage completely.
Once your plunging sessions have finished, check whether the water drains more freely. If its level starts decreasing or your sink/toilet drains more effectively, your efforts have paid off; otherwise, you might require further plunging sessions or alternative strategies.
For toilet clogs, once the water drains freely from the bowl, it may be time to flush or test to ensure everything has been completely unclogged. In cases involving sink or tub drains, it might also help if some running water runs through to see if all blockages have been eliminated.
Once the clog has been cleared successfully, it's important to clean up. Remove any towels or newspapers you laid down earlier and wipe down the plunger to eliminate any residue before storing them in an appropriate space.
To avoid future clogs, adopt preventive measures. Be wary about what goes down your drains, and use drain covers to catch hair and debris. Clean them out regularly using a baking soda/vinegar mixture, which may also help avoid build-up in drains.
Although plunging can often do the trick for minor clogs, more serious blockages might require professional intervention. If DIY methods such as plunging haven't succeeded or you suspect there might be larger issues within your plumbing system, contacting an experienced plumber might be best as they possess all the expertise and tools to address complex plumbing issues effectively. Mr. Rooter Plumbing is here to meet all your plumbing needs.